How to Clear Messenger Cache on Android & Desktop? [Easy Steps]

Messenger is one of the most widely used platforms for communication, and many people rely on it. There is no doubt that Messenger offers valuable service to consumers, but over time, it accumulates caches.
MOBILE: To remove the messenger cache. Goto Settings>Apps>Messenger. Click “Clear Cache”. Done.
DESKTOP: Clear browser cache to remove messenger cache as well. Goto Settings>Privacy and Security>Clear Browsing Data. Check all the boxes and click “Clear Data”. Done.
What is Cache?
Messenger cache is a temporary storage space for frequently used data, such as images, videos, and text files.
It is used to speed up the loading of Messenger by storing this data locally on your device. This means that Messenger does not have to download the data every time you open the app or view a message.
When the cache grows and piles up, it causes Messenger to slow down and take more storage space.
Clearing the cache will remove the local files of Messenger from your phone or device and it won’t affect your personal data. It will not delete your messenger messages.
This article will help you to Clear the Messenger Cache easily with step-by-step images.
How to Clear Messenger Cache on Android
The cache needs to be cleared after some time for better performance of the application. If you are an Android user and want to remove your messenger cache, then you can perform this simple operation by following the steps below.
1. Go to your Android device’s “Settings.”
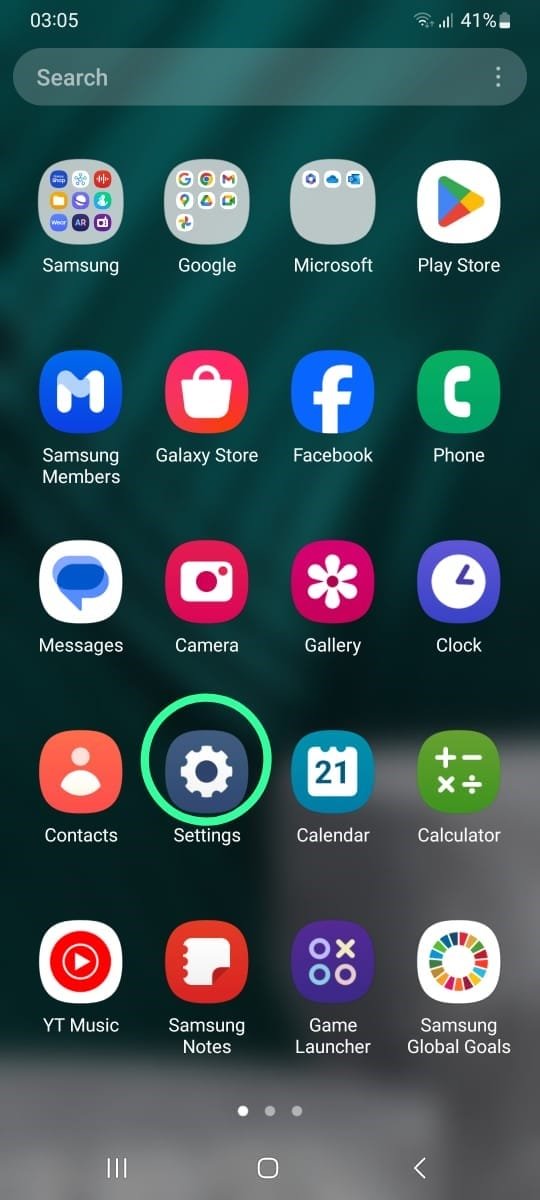
2. Scroll down and tap on “Apps” or “Applications.”

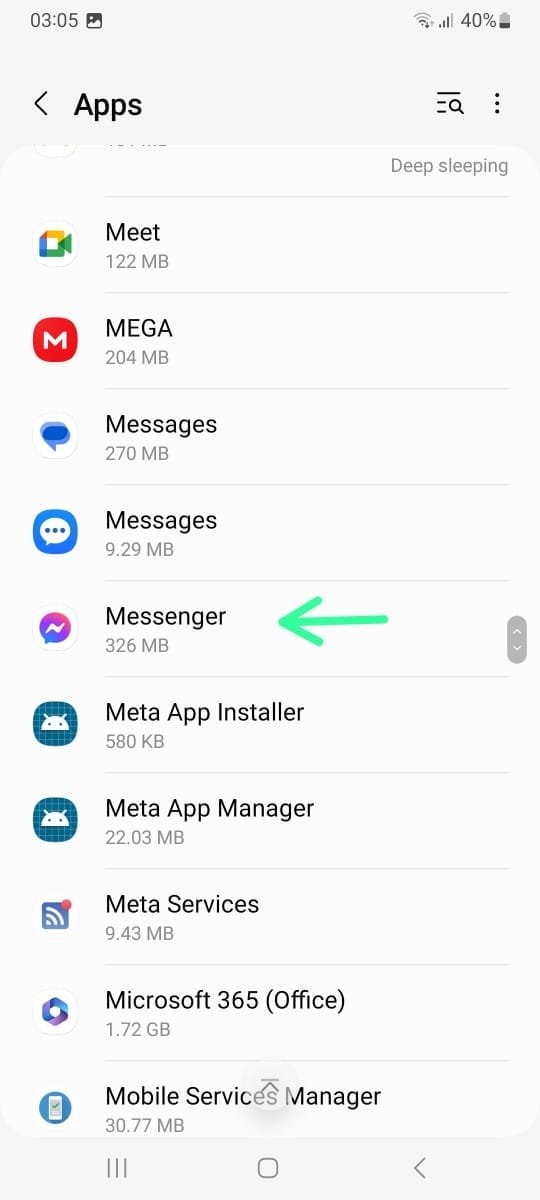
3. Find “Messenger” in the list of installed apps.
4. Tap on “Messenger” to open its settings.
5. Tap on “Storage.”

6. Tap on the “Clear Cache” button to remove the cache.
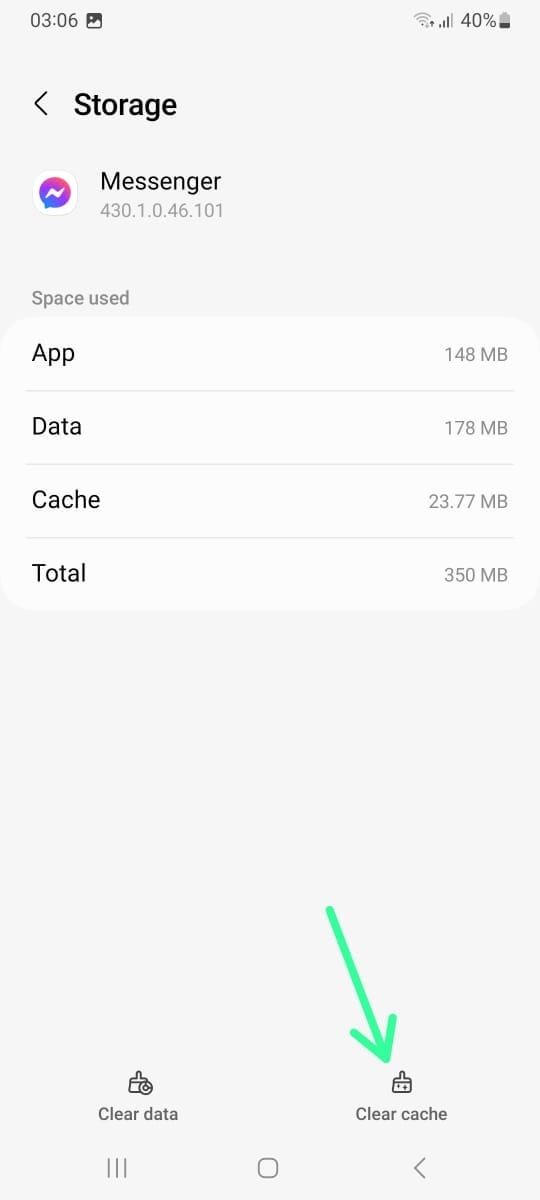
Note: There will be two options; Clear data and Clear cache. Clear data will remove the entire app data and any saved logins etc. You will have to login back into your account again.
While the Clear Cache option will only remove the cached data from the device.
How to Clear Messenger Cache on a DESKTOP
Clearing messenger caches using a desktop is slightly different than Android.
If you want to clear messenger cache using your laptop, then you need to follow the procedure provided below:
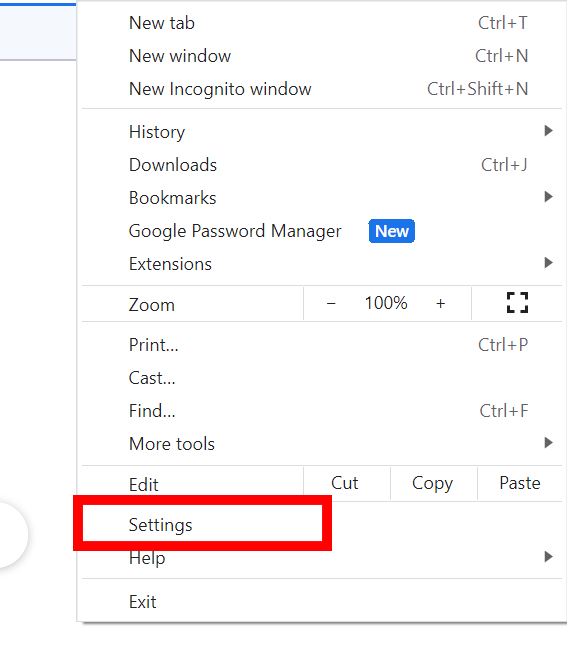
1. Open your Chrome browser and click the “three dots” from the top right corner.
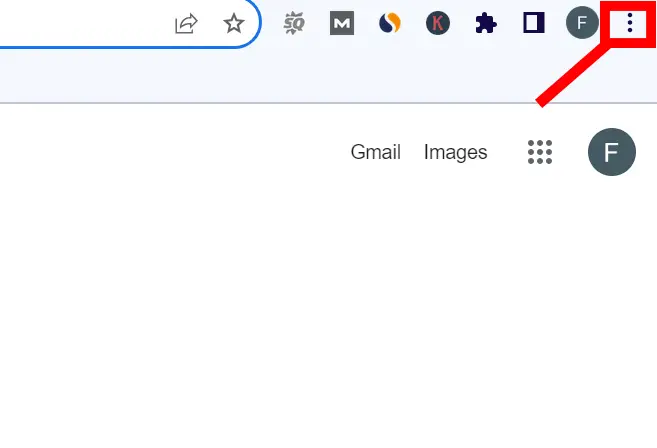
2. Next, select the “Settings” option from the drop-down menu.
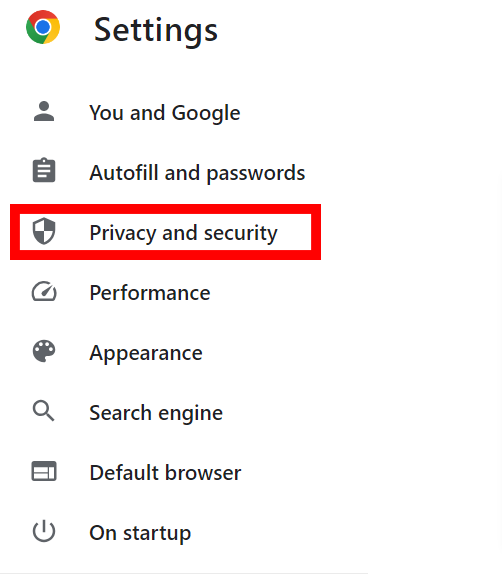
3. Then, choose the “Privacy & Security” option from the left panel.
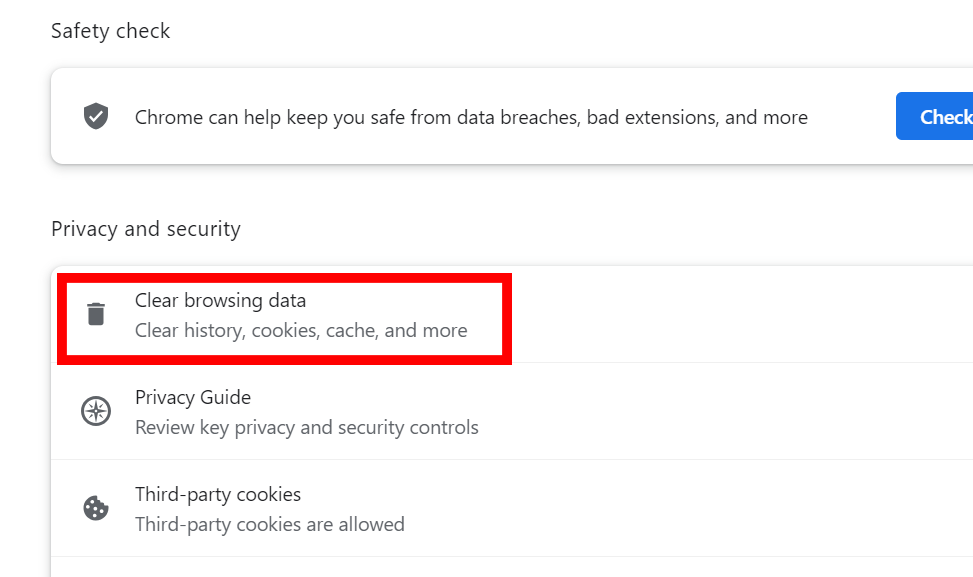
4. Click the “Clear Browsing Data” option from the right panel.
5. Finally, checkmark the “Cached Images and Files” option from three choices and set the time range from the top.
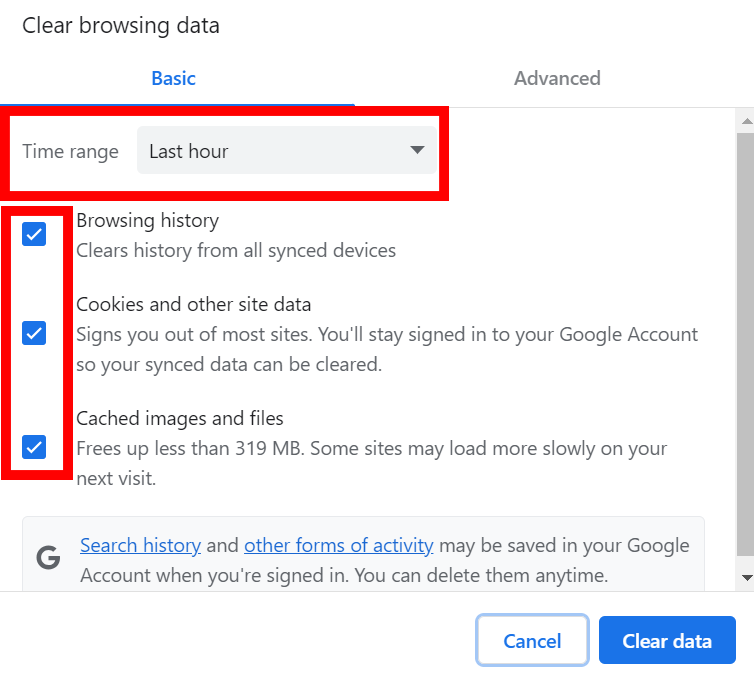
The final step is to click “Clear Data” to clear the cache and browsing history of the browser. It will also include the messenger cache.
Difference Between Clear Data and Clear Cache?
The cache includes the temporary data of the application, and once deleted, you don’t lose your data.
On the other hand, clear data deletes all the application data, and you will lose all your important data. There is a clear difference between the two, and you should select wisely when carrying out the process.
Will Clearing Cache on Messenger Delete Messages?
No, clearing your Messenger cache won’t delete your messages from your mobile or desktop. It might logout you from your account and you might have to log in again.
Conclusion
Clearing caches might take time, but you don’t need to worry. If your Messenger is not running smoothly and hangs up, then all you are required to do is clear your Messenger cache. Using the above methods, you can remove your messenger cache using your mobile or laptop. Also, you can use the technique mentioned above to clear the cache of any other application if you are facing trouble with them.
Read More: