How to Change Name on Facebook? [Step-by-Step Guide]
Are you looking to change your name on Facebook? Whether you’ve legally changed your name, or simply want to update your display name, this article will guide you through the process.
Changing your name on Facebook is a simple and straightforward procedure that can be done in just a few easy steps.
In this article, we will provide you with a step-by-step guide on how to change your name on Facebook, ensuring that your new name is reflected accurately. So let’s dive in!
How to Change Your Name on Facebook
Changing your name on Facebook is a straightforward process. Whether you’re using a computer or a mobile device, follow the step-by-step instructions below to update your name.
Changing Your Facebook Name on a Computer
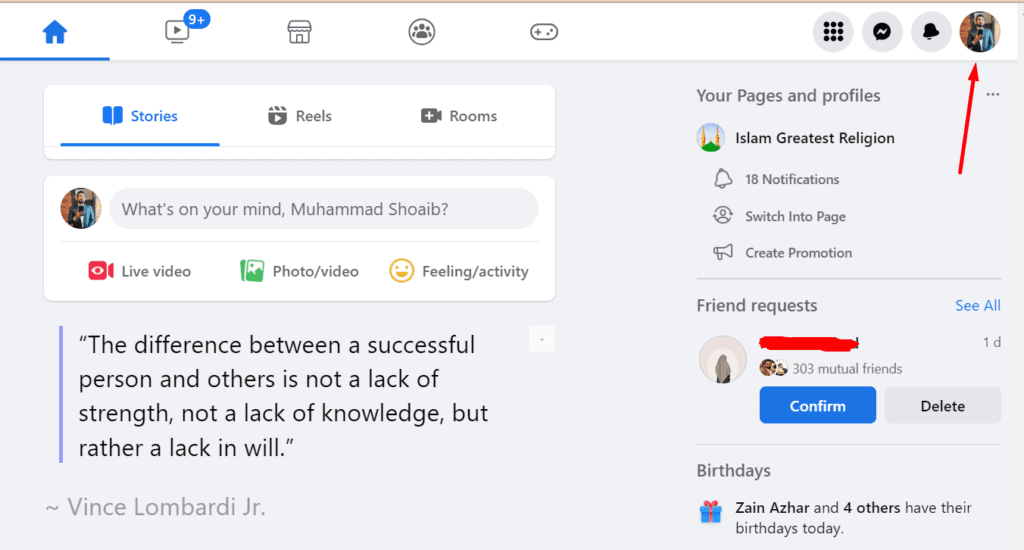
Step 1. Log in to your Facebook account using a desktop computer.
Step 2. Click on your profile picture located in the top right corner of the screen.
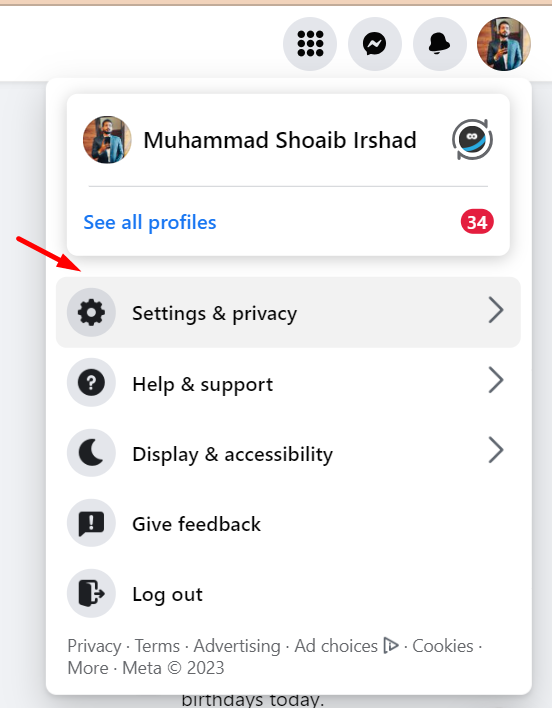
Step 3. Select “Settings & Privacy“.
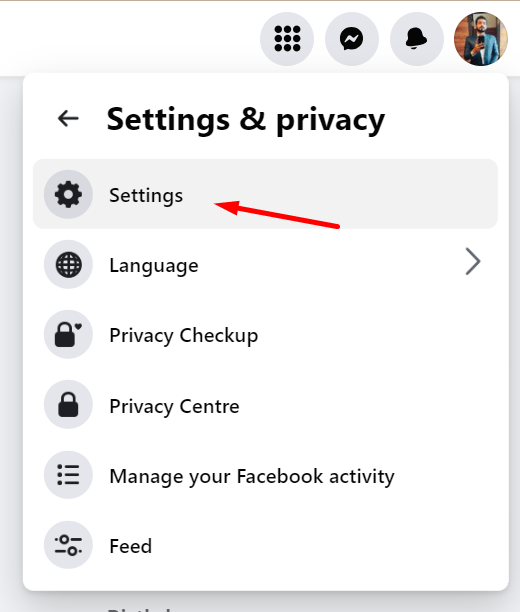
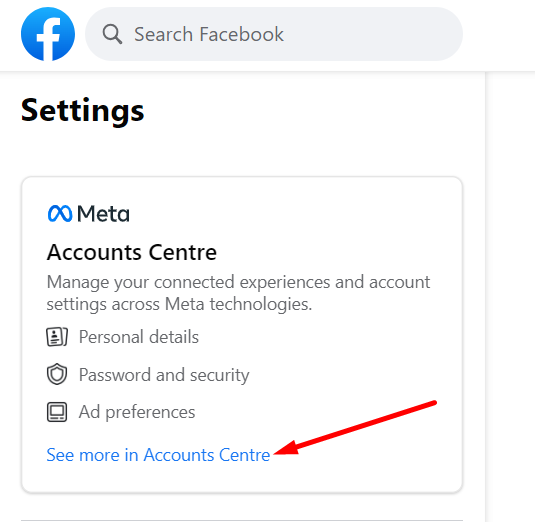
Step 4. Select “Settings“.
Step 5. Changing the name and other settings are moved to Meta Account’s Center. Tap on it.
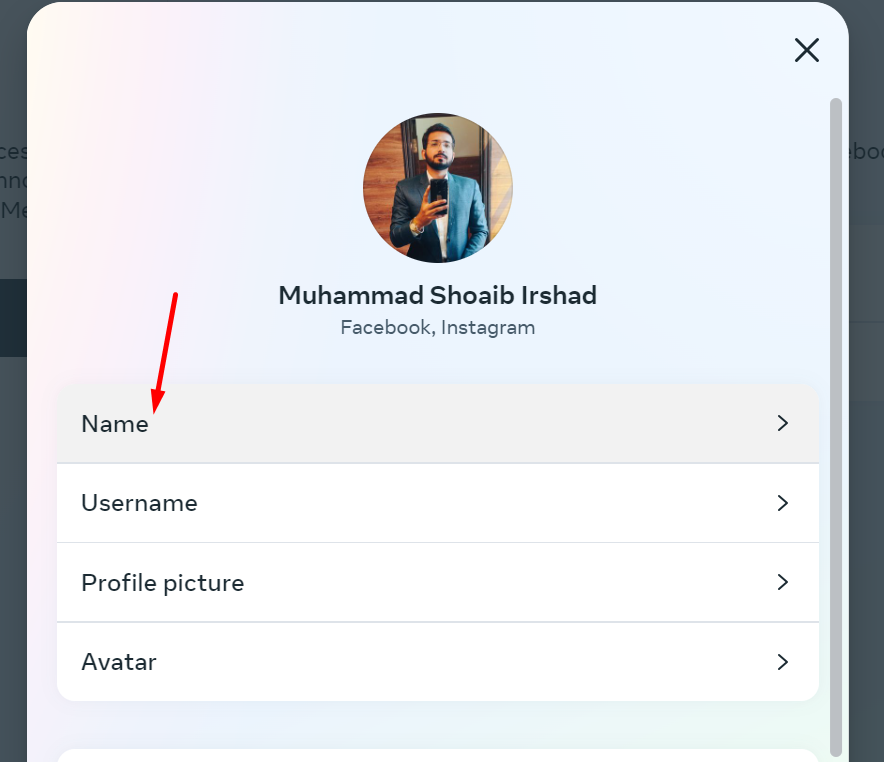
Step 6. Select your Profile.

Step 7. Click the “Name” option to change your name.
Step 8. Enter your new name in the provided field.
Step 9. Click “Review Change.”
Step 10. Enter your password, then select “Save changes.”
Changing Your Name on Facebook App on iPhone
STEP 1: Open the Facebook app on your iPhone device.
STEP 2: Tap your profile icon, located in the bottom right corner of the screen.
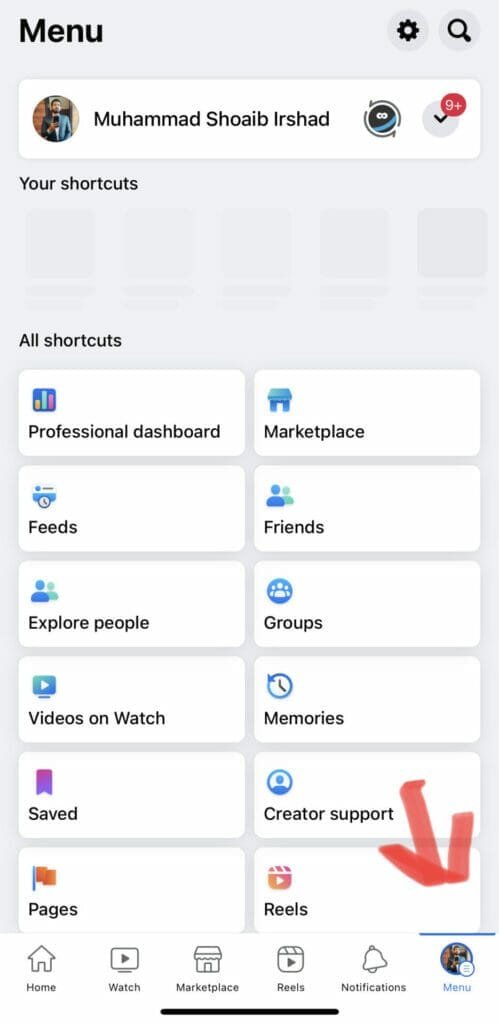
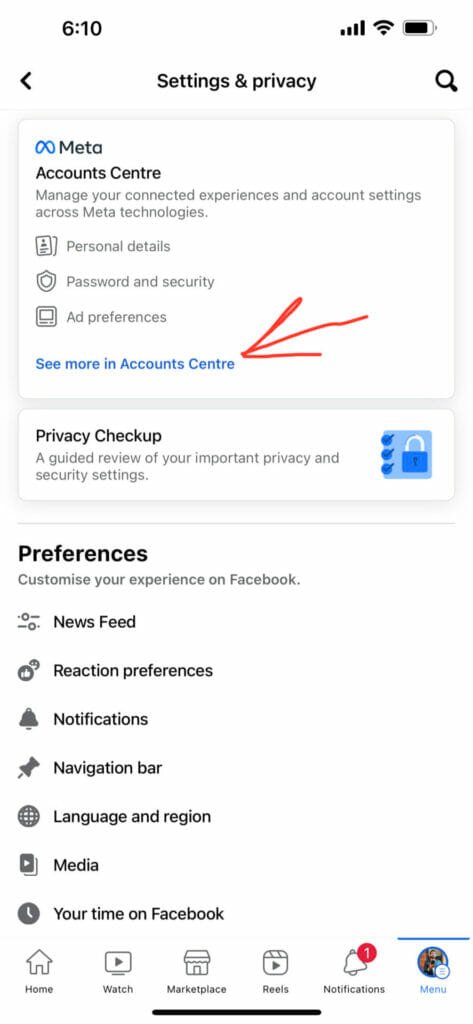
STEP 3: Select “Settings Gear Icon” to go to Settings.
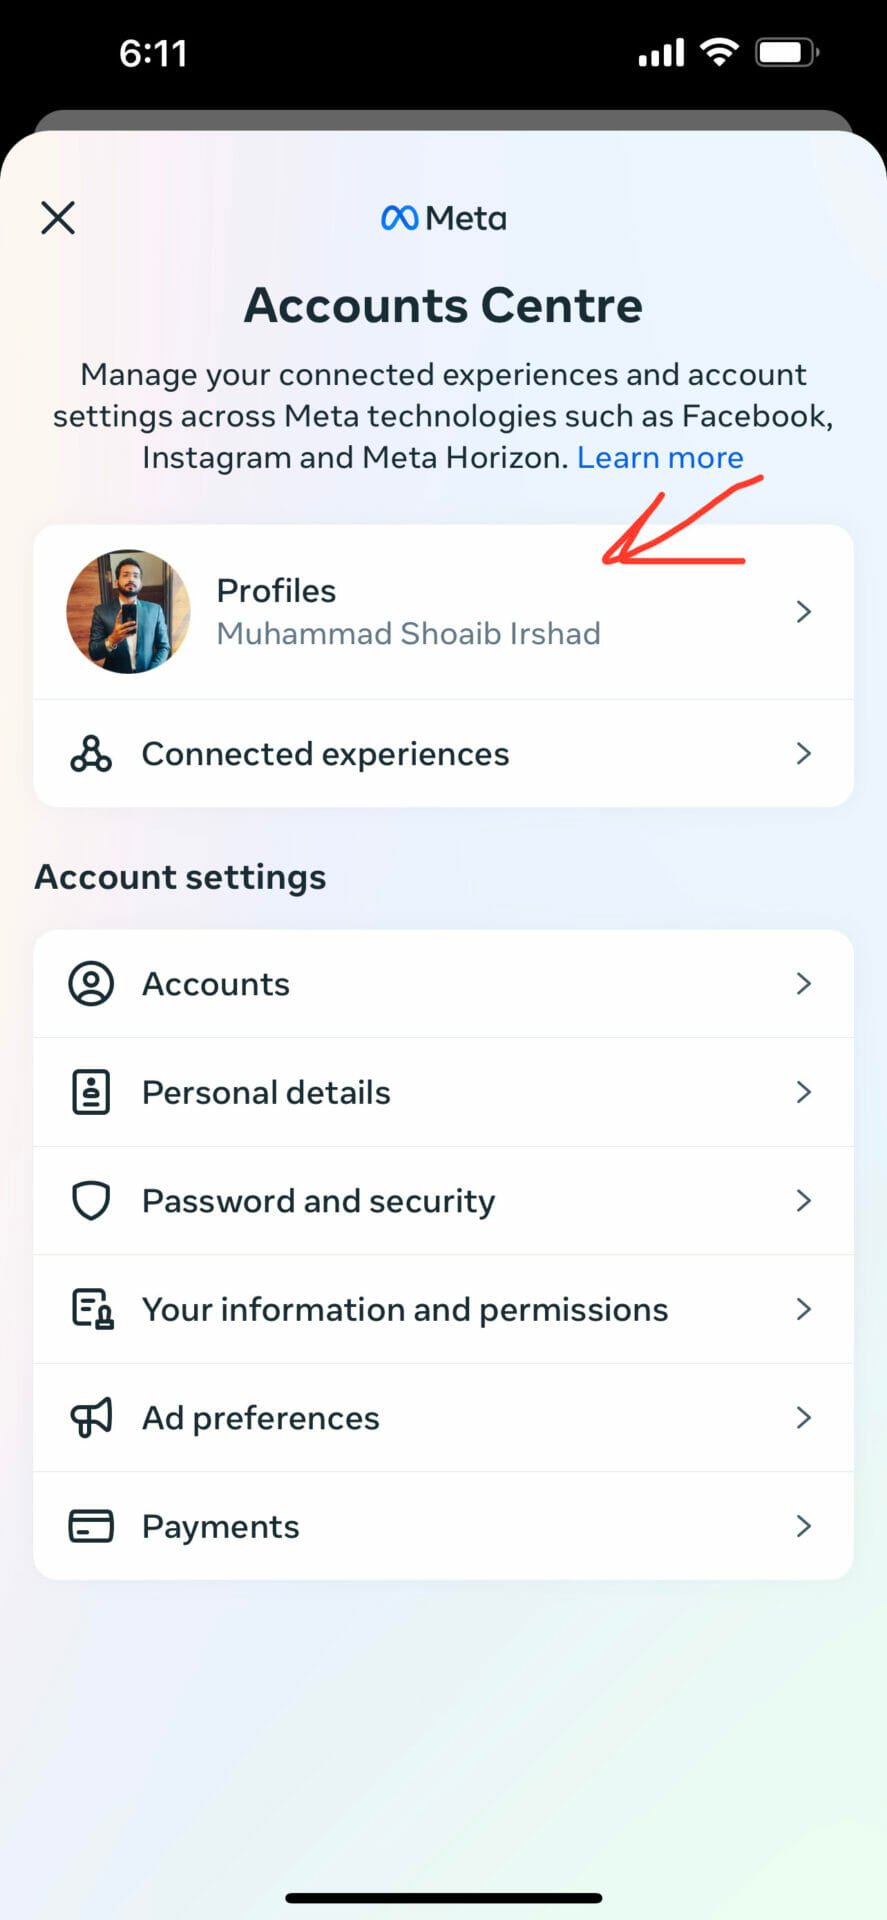
STEP 4: Click on “Accounts Centre” to go to the accounts center to access profile info options.
STEP 5: Select your Facebook Profile.
STEP 6: Tap “Name” to change your name.
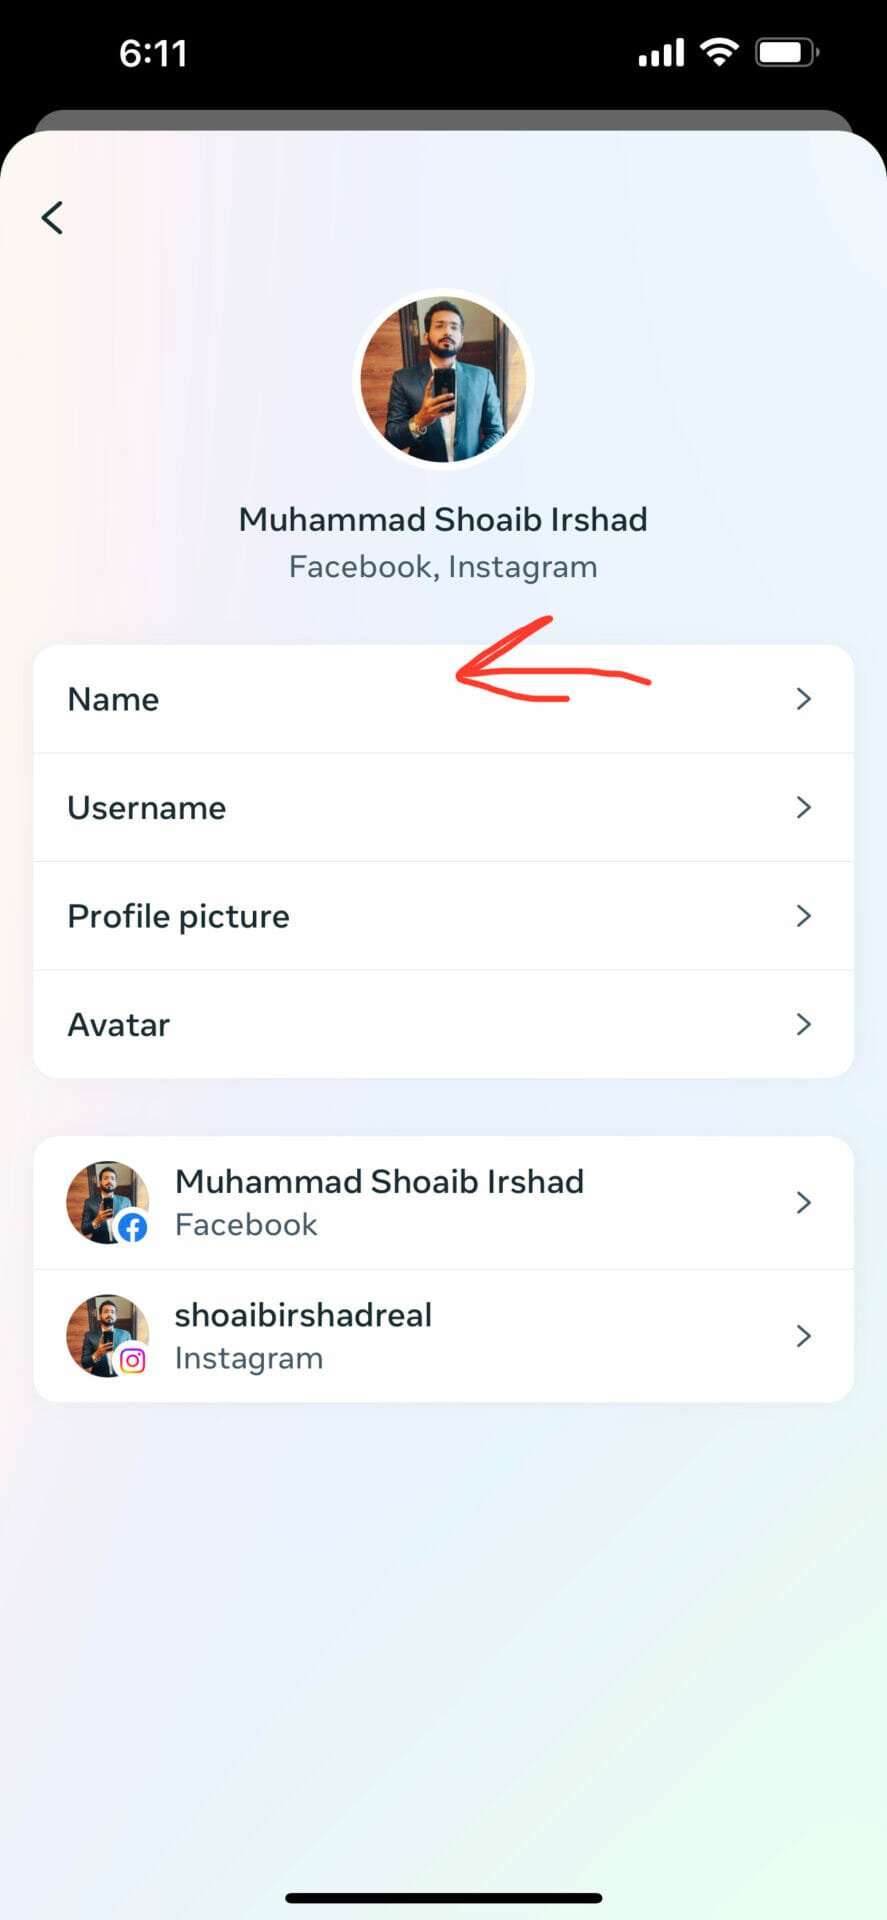
STEP 7: Change your name to the desired name. Click “Review Changes”

STEP 8: Enter your Facebook password, then tap “Save changes.“
Please note that you can only change your name on Facebook once every 60 days. Additionally, if your name change request is denied, it may be because your new name does not comply with Facebook’s naming policy or you have already submitted a name change within the last 60 days.
Understanding Facebook’s Naming Policy
It’s important for you to understand Facebook’s naming policy.
According to this policy, your Facebook profile should reflect the name you go by in your day-to-day life.
If your name is unusual, Facebook may request additional verification, such as a copy of your official ID or document, to confirm your name.
Facebook has certain rules for profile names in order to protect users from imposters, scams, and phishing on the platform.
These rules include not adding unusual symbols or numbers, titles, or offensive or suggestive words to your profile name.
However, Facebook does allow users to include nicknames or additional names, such as maiden or birth names, on their profiles.
Similar to this:


I found this somewhat helpful, I wish if I could get my account back soon.